
Cast Iron Seasoning - How to and FAQ
How to Season Your Cast Iron Pans and Cookware
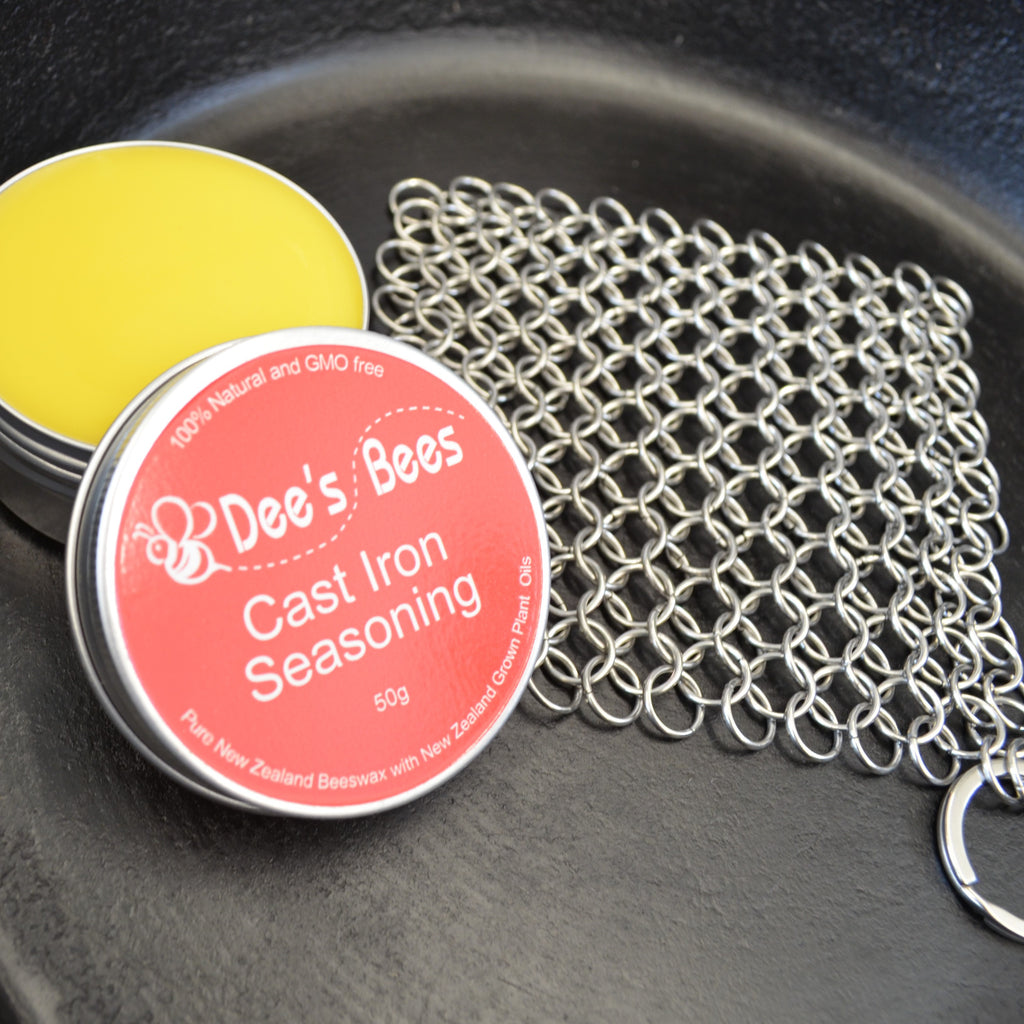
Made from a careful blend of beeswax and New Zealand grown plant oils, our Cast Iron Seasoning is wonderful for both cast iron and carbon steel cookware, protecting from rust and building a perfect cooking surface at the same time.
If you love the idea of cooking with cast iron, but find the whole idea of looking after it intimidating or just plain confusing... read on.
Getting the best out of your cast iron really comes down to getting a couple of very simple things right: cleaning, and seasoning.
Cleaning Your Cast Iron
I've seen so many variations on how to clean your cast iron, and the simple fact is that most of them are driven by fear. Fear of that pesky rust, and fear of messing up your seasoning.
Relax.
First, let's get rid of the idea of only cleaning with this or that expensive specialist cleaner, or of only cleaning with water... or, worst of all, NOT cleaning your cookware at all - seriously - I've seen recommendations to only wipe out your cookware with a dry paper towel. I don't know about you, but I don't want last night's paprika chicken turning today's pikelets orange!
People.. PLEASE clean your cookware. Every. Time. You. Use. It.
It's a food hygiene issue, folks. You wouldn't throw a fork back in the drawer or a plate back in the cupboard without washing it, would you? Of course not!
And cleaning a properly seasoned pan is just as easy as handwashing any other cookware.
Hot water and whatever dish detergent/soap you have on hand. Scrub it out thoroughly. Really. I use a stainless steel chainmail scrubber on mine to make sure everything comes off, but I do avoid steel wool type scrubbers as I find they can cut into the seasoning layer a bit easily.
Yes, you're taking off that layer of oil/grease that you may have been relying on to stop the pan rusting in the past... but unless it's the right type of oil it isn't going to be capable of forming a great seasoning layer anyway, so it's better off gone.
Step 2 of cleaning your pan, and it's a critical one - dry it immediately! Don't put it in the dishrack, don't let it drip dry. Rinse thoroughly with hot water and then dry with a dishcloth immediately to take off surface water. Now put it on your stovetop and turn the element on for a few minutes. It doesn't need long, or to get super hot, but this process lets any water in the 'pores' of the cast iron evaporate out properly. Turn off the element once the pan is warm/hot and allow the pan to cool before putting it away.
What is Seasoning?
What we're aiming for is a hard, durable coating on your pan that both protects it from rust, and provides a smooth cooking surface that conducts heat to your food while preventing it sticking.
We achieve this coating by cooking our seasoning onto the pan at high temperature, which does two things: first, the thin layer of seasoning goes through a polymerisation process... basically cooking the seasoning allows the molecules of the oils and wax to bond and form a larger, stronger molecular structure that clings to the pan. Second, carbonisation - a layer of carbon is deposited on the pan (if you wipe over a freshly seasoned pan with a paper towel, this is the charcoal-like residue you'll notice.
You can either season your pan in your oven or on your stovetop - either way works, and it probably comes down to preference and your type of pan as to which you choose.
 See Dee's Bees Cast Iron Seasoning
Oven Seasoning Your Cast Iron Pans
If you want to go the full-on, hard-core seasoning method and your cookware is ovenproof (careful of wooden handles), a thin layer of the seasoning can be wiped over the pan inside and out, and then cook it in your oven at 200 degrees Celsius for about 40 minutes, and then let it cool in the oven.
When I say ‘a thin layer’, I mean really thin. Start with about a pea-sized piece of seasoning and wipe on with a paper towel or soft cloth. Having the pan even just slightly warm will allow the seasoning to melt and spread easily - you'll be surprised how far it goes. Then buff off any excess – really buff it out.. it’s going to feel like you’re trying to take off the layer you just put on.
Important: You cannot rush the seasoning process by putting on thicker layers – you’ll end up with a sticky surface that can’t cook out and polymerize properly. If it happens, you haven't ruined your pan - but it does need to be scrubbed back down and the seasoning process started again.
Once you've buffed the pan, put it in your oven and cook it at 200 degrees Celsius for about 40 minutes, and then let it cool in the oven. This cooking process is essential - it's the heat that turns the wax and oil combo into a polymerised seasoning.
The process will result in smoke - that's a good indication that your temperature is high enough for the molecular processes to happen.
To build a good seasoning base, you may wish to repeat this process a few times – probably three to five. Or you may wish to just do a coat occasionally as maintenance on an already-seasoned pan.
This is a great kick start for a new pan, or rehabilitation for an older pan that hasn’t had a lot of love.
Stovetop Seasoning
Some pans can't be oven-seasoned (eg, wooden handles), but stovetop seasoning can work just as well.
Apply our seasoning blend to your pan in the same manner as for oven seasoning, and then just put the pan onto an element and heat it. It's important to get the pan good and hot on the stovetop - getting up to that smokepoint is the best indication that you're doing it right. You probably won't want to maintain that temperature for as long as with the oven seasoning (if only because it gets exhausting fanning tea towels at the smoke detectors!), so once you've got your pan good and hot for a few minutes, just turn the heat off and let the pan cool slowly on the element.
As with oven seasoning, you can repeat the process as soon as the pan has cooled to quickly build up a good seasoning base, or you can take the easy way out and build up your seasoning progressively as you cook with your pan.
My favourite cast iron frypan is about forty years old with a wooden handle that can’t be removed anymore, so oven seasoning wasn’t an option. It was a great pan in every other respect pre-seasoning, but the cooking surface was ‘grippy’ – food stuck and tore easily. To bring the pan up to scratch, I simply seasoned it over a period of a couple of weeks each time I used it. After cooking and washing normally, I wiped the pan inside an out with the seasoning, buffing it well, and then placed it on a hot element for a few minutes until it smoked, then turned off the element and let it cool. In a fortnight the surface was looking great, and food was sliding freely. I then slowed down and seasoned once or twice a week for another couple of weeks.
Maintaining your Seasoned Pan
A common question is how often does a pan need reseasoning – do you have to season it every time you cook with it?
No! Once you’ve got a surface that you’re happy with, you’ll only season when you feel you need to. The seasoning builds a durable coating on your pan, but how long that lasts is going to depend on what you cook and how often.
My main pan is used every day for everything – pikelets, poached eggs, and acidic tomato-based pasta sauces that would make the average cast-iron geek cringe – and I probably only give it a stovetop seasoning about every three weeks. It’s so quick and easy, it’s over and done before the rest of the pots and pans are even washed.
See Dee's Bees Cast Iron Seasoning
Shelf Life
Once your seasoning has been cooked onto your pan, it is no longer a combination of waxes and oils... it is a whole new chemical structure which is not vulnerable to going off, so shelf life of your seasoning layer is not an issue.
However, it is important to recognise that the seasoning blend in the tin is a combination of beeswax, which does not go off, and vegetable oils, which have a shelf life of 12 months. The seasoning may, in fact, keep for far longer, but this is why we only produce this seasoning in a 50 gram tin - we want you to be able to use all of it while the oils are still at their best.
Keeping your seasoning tin in the fridge with the lid sealed between uses will help to extend its life. Exposure to light, air and hot temperatures will accelerate deterioration.
Since oils develop a distinctive smell as they rancidify, checking the scent of your seasoning with a quick sniff is all that is required to confirm its freshness. Please discard if it develops an off smell.